Snapshot
- Common Mistakes in Veneer Preparation: Over reduction, flat labial preparation, inadequate margins, ignored occlusion, inadequate interproximal reduction, and poor isolation.
- Veneer preparation basics: Stay within enamel, optimum depth, well-defined margins, smooth finish, and adapt to natural contour.
- Ideal reduction range: 0.3-0.5 mm facial reduction supports stronger bonding and fewer failures.
- Design and contouring: Natural anatomy and two-plane reduction improve aesthetics and fit.
- Lab coordination: Clear case inputs and digital workflows reduce discrepancies and adjustments.
Synopsis
When veneer cases fail, the problem is often not the ceramic. It is the preparation. Veneers can achieve excellent long-term results, and reviews report high survival overall, but outcomes depend heavily on case selection, enamel preservation, preparation design, bonding, and maintenance. Small errors made during preparation can lead to weak adhesion, poor fit, over-contoured restorations, chipped incisal edges, marginal leakage, and unnecessary remakes.
Understanding common veneer preparation mistakes and correcting them early can improve precision, maintain enamel integrity, and achieve predictable clinical outcomes.
7 Common Veneer Preparation Mistakes
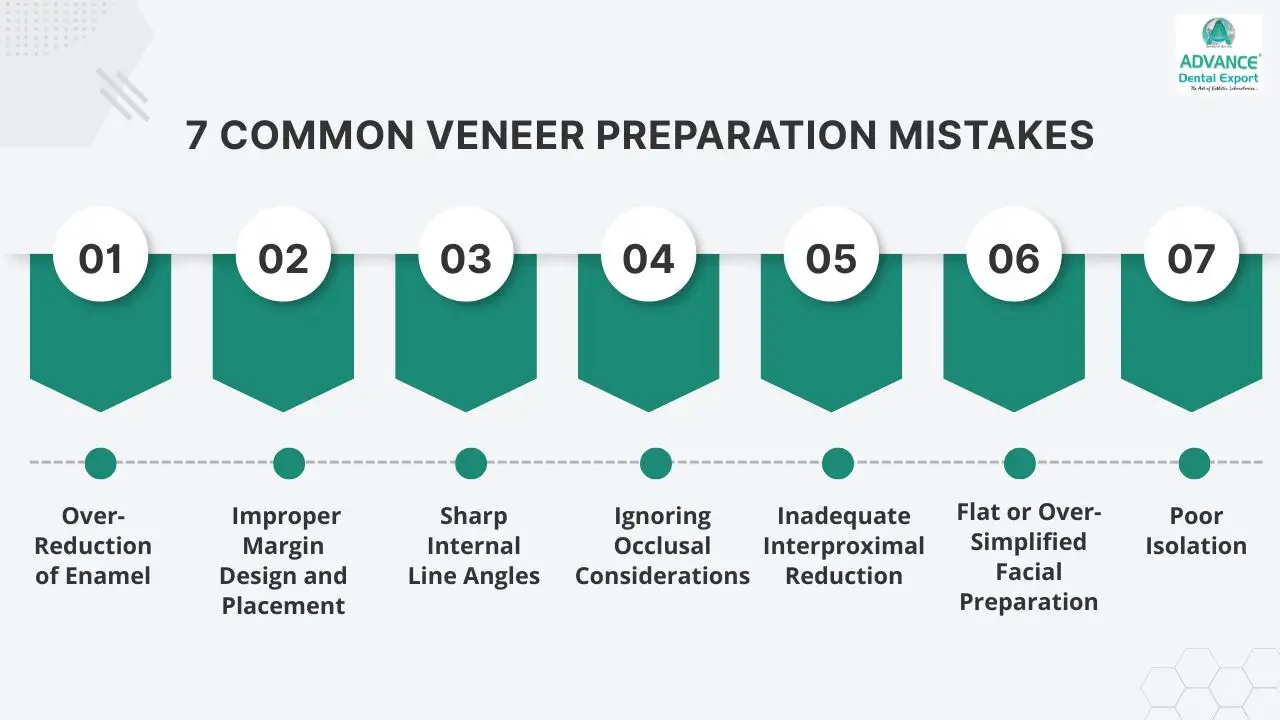
The most common mistakes in veneer preparation are over-reduction of enamel, poor margin design, sharp internal line angles, ignored occlusal risk, inadequate interproximal reduction, flat facial preparation, and poor isolation. The most reliable way to avoid them is to stay enamel-led, use controlled depth reduction, respect natural tooth anatomy, check static and dynamic occlusion, and communicate the case clearly to the lab.
Here are 7 common flows in veneer preparation and how to avoid them.
| Mistake | Main consequence | Best prevention |
| Over-reduction | Dentin exposure, weaker bonding, bulk-control problems | Use depth guides, mock-ups, and conservative reduction |
| Poor margin design | Seating problems and marginal discrepancy | Create clear, smooth, deliberate finish lines |
| Sharp internal angles | Stress concentration and fit problems | Round all internal transitions |
| Ignored occlusion | Chipping, debonding, overload | Check static and dynamic contacts before finalising the design |
| Inadequate interproximal reduction | Bulky contours or poor contacts | Create a controlled clearance and contact form |
| Flat facial preparation | Artificial-looking veneers and uneven thickness | Use a two-plane anatomical preparation |
| Poor isolation | Imprecise margins and contaminated bonding | Use strict moisture control and tissue management |
#1. Over-Reduction of Enamel
Excessive reduction is one of the costliest veneer preparation mistakes because it removes the most reliable bonding substrate. Once preparation extends too far into dentine, bond predictability drops, sensitivity risk rises, and the final restoration may still end up over-contoured if the reduction was uneven rather than anatomically planned. Research also shows that thin veneers combined with substantial enamel loss are a major fracture risk pattern.
How to Avoid:
- Reduction depth should be guided by the material selected:
- Feldspathic porcelain: 0.3–0.5 mm
- Emax or lithium disilicate: 0.4–0.6 mm
- Zirconia-reinforced ceramics: Minimum of 0.4 mm
- Limit facial reduction using depth guides or orientation grooves and depth-cutting burs, which have a "stopper" to maintain preparation within the enamel.
#2. Improper Margin Design and Placement
Margins that are vague, rough, uneven, or placed without respect for function create problems for both the clinician and the technician. They increase the chance of poor marginal adaptation, seating discrepancies, and aesthetic compromise, especially when the lab has to guess where the finish line actually is. The attached draft is right to stress the need for clear, smooth finish lines, but this point should be explained earlier and more decisively.
How to Avoid:
- For incisal designs, evidence reviews favour a butt-joint approach over a palatal chamfer in many ceramic veneer situations because palatal chamfer preparations have been associated with a higher fracture risk.
- At the gingival third, where enamel is limited, aggressive chamfering also increases the likelihood of dentine exposure.
- The best margin is therefore not the one used most often in your routine, but the one that fits the material, the cervical enamel available, and the final restorative design.

#3. Sharp Internal Line Angles
Sharp internal angles act as stress concentrators. They also make it harder for the veneer to seat passively and make the thickness distribution less uniform, which is exactly what you do not want in a thin bonded ceramic restoration. This is a simple error, but it still appears often when preparations are rushed.
How to Avoid:
The fix is equally simple: round every internal transition, refine the preparation with fine finishing burs, and inspect the preparation from multiple angles under magnification before scanning or taking the final impression. That refinement step improves both seating accuracy and stress distribution.
#4. Ignoring Occlusal Considerations
- Margins placed within occlusal contact zones are exposed to direct functional forces, increasing failure risk.
- Unchecked occlusion can lead to premature contacts, chipping, or debonding of veneers.
- Functional overload affects both the restoration and the underlying tooth structure.
How to Avoid:
Evaluate static and dynamic occlusion carefully and shift margins 1-2 mm away from contact areas when required.
#5. Inadequate Interproximal Reduction
- Insufficient interproximal clearance leads to bulky restorations and compromised emergence profiles
- Poor contact management can result in open contacts, food impaction, or overly tight contacts
- This directly impacts both function and long-term periodontal health
How to Avoid:
- Use diamond strips or long tapered burs to achieve controlled interproximal reduction and establish proper contact form.
#6. Flat or Over-Simplified Facial Preparation
- A flat preparation ignores the labial/buccal surface contour of the anterior tooth, resulting in restorations that appear bulky or artificial
- Lack of anatomical contour affects light reflection and overall aesthetic integration
- Can result in uneven reduction, with excess cervical preparation causing sensitivity, while limited incisal reduction affects strength and translucency
- Over-simplification can also compromise the thickness distribution across the veneer
How to Avoid:
- Follow a two-plane facial reduction approach using depth guides to replicate natural buccal/labial surface anatomy
#7. Poor Isolation
- Inadequate isolation affects visibility and moisture control, making it difficult to prepare precise margins and finish lines
- Compromised preparation can lead to inaccurate margins, affecting the fit and long-term stability of dental veneers
- Moisture contamination during the bonding phase also interferes with adhesive protocols and reduces bond strength
How to Avoid:
Maintain strict isolation using a rubber dam with a retraction cord to ensure accurate margins and finish lines
Additional Clinical Tips to Improve Dental Veneer Outcomes
Small refinements during planning, try-in, and finishing stages play a key role in improving accuracy, aesthetics, and long-term veneer performance.
- Use diagnostic wax-ups or mock-ups to guide preparation and visualise outcomes
- Verify internal fit using a try-in paste during the try-in stage
- Ensure temporaries are well-shaped and do not exert pressure on preparations
- Share shade maps, photographs, and reference details with the lab for clarity
- Evaluate preparations under magnification to refine margins and surface finish
Veneer Preparation Considerations
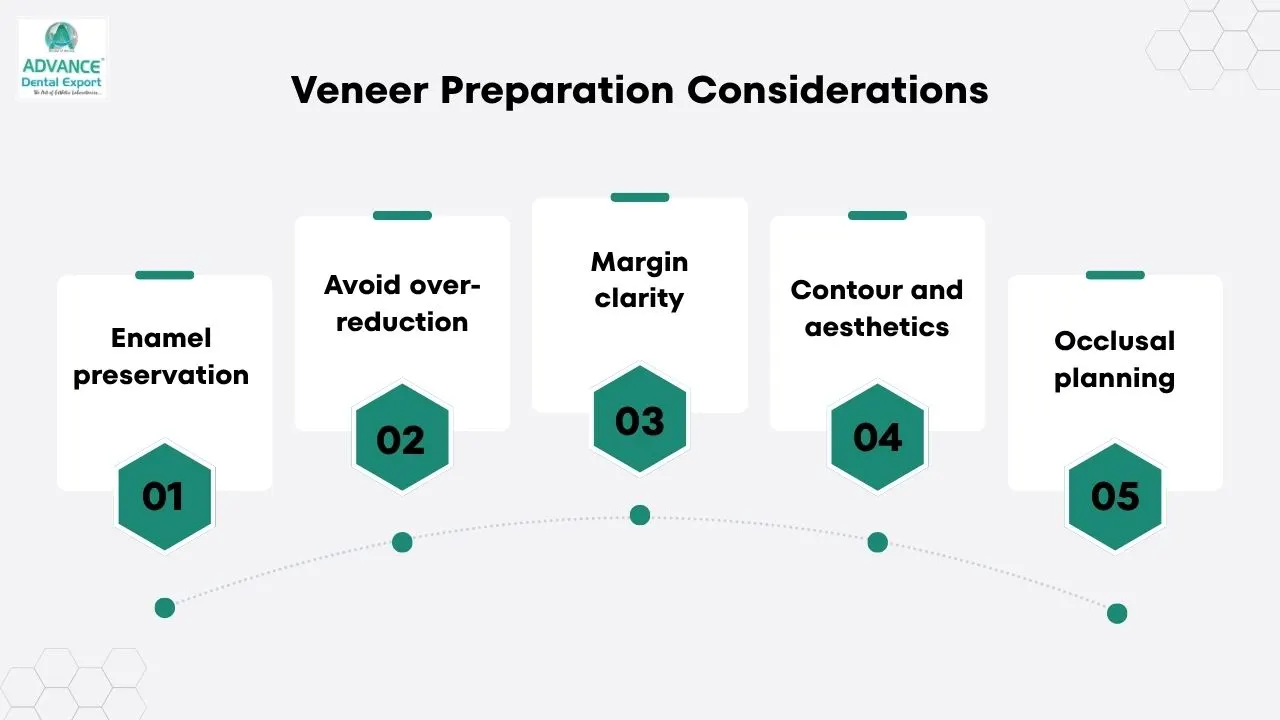
Veneer outcomes are shaped at the preparation stage, where small deviations can influence fit, bonding, and long-term performance.
- Enamel preservation: Bond strength is highest when preparation remains within the enamel, supporting long-term retention and stability
- Avoid over-reduction: Dentin exposure increases the risk of sensitivity, and its organic content reduces bond strength
- Margin clarity: Well-defined margins improve lab outcomes and accurate marginal adaptation
- Contour and aesthetics: Following the anatomical contour supports natural light reflection and aesthetic integration
- Occlusal planning: Identifying and adjusting overjet, overbite and contact points helps prevent fractures and premature failure
Dental Veneer Preparation Design
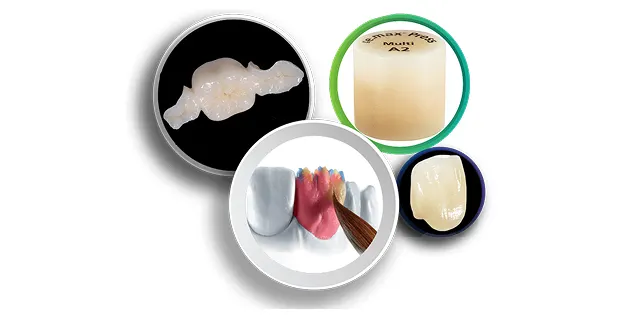
Veneer preparation design depends on the material and its distinct mechanical properties, which guide the reduction depth, finish line, and margins placement.
Feldspathic Porcelain
- Most technique-sensitive veneer material.
- Most conservative reduction (0.3-0.5 mm) and strict enamel preservation as bond strength is critical to its survival.
- Demands the sharpest margin definition for accurate lab fabrication.
- Not forgiving of over-reduction or dentin exposure.
Lithium Disilicate (Emax veneers)
- The most widely used veneer material today.
- Tolerates slightly more reduction (0.4-0.6 mm) due to higher flexural strength, but enamel bonding is essential.
- A chamfer or butt-joint margin works well.
- More forgiving than feldspathic but not dentin-friendly.
Zirconia-Reinforced Glass Ceramic
- Higher strength allows for thinner restorations in some cases, but the preparation depth should be 0.4 mm to allow for adequate material thickness.
- Less translucent than feldspathic or Emax, relevant when aesthetic expectations are high on anterior cases.
Indirect Composite Veneers
- Indirect composite requires similar prep principles to ceramic, but is more tolerant of minor margin irregularities.
- Suitable for younger patients or reversible cases where enamel preservation is the priority.
- Bond strength is technique-sensitive and highly dependent on surface conditioning.
| Preparation Design | Veneer Type | Finish Line | Depth | Why It Is Used |
| Conventional Prep | Porcelain (Emax/Feldspathic) | Chamfer | 0.3 – 0.5 mm | Clear margin & accurate seating |
| (For discoloured teeth) | Subgingival Chamfer | ~0.5 mm (sulcus) | Masks dark margins | |
| Incisal Coverage | Incisal Overlap | Butt-Joint | 1.0 – 1.5 mm | Higher fracture resistance |
| Minimal / No-Prep | Ultra-Thin (No-Prep) | Feather-Edge | ~0.1 – 0.2 mm | Maximum enamel preservation |
Looking for a trusted lab partner? Get high-precision restorations from Advance Dental Export
How to Choose the Right Veneer Preparation Approach?
- Assess tooth condition, enamel thickness, shade, and alignment before planning preparation
- Choose between minimal prep, conventional prep, or additive techniques based on case requirements
- Balance aesthetic goals with preservation of natural tooth structure
- Plan reduction according to final material thickness and restorative design
- Evaluate occlusion and functional load to ensure the preparation supports long-term stability
Role of Lab Communication in Preventing Veneer Failures
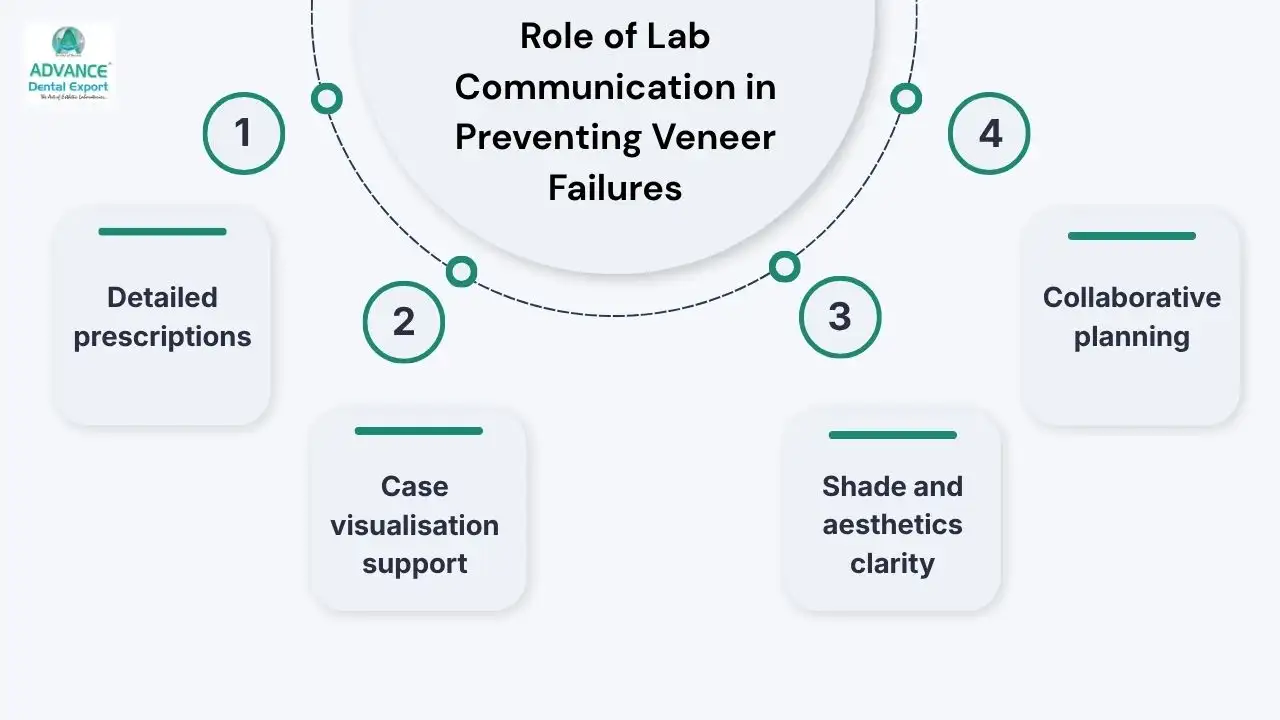
Clear communication with the dental lab is critical to achieving predictable results.
- Detailed prescriptions: Provide clear instructions on margin design, reduction depth, and preparation specifics to support accurate fabrication
- Case visualisation support: Share diagnostic wax-ups, mock-ups, and STL files to align the lab with the intended final outcome
- Shade and aesthetics clarity: Define shade, translucency, and surface texture to avoid mismatches and improve aesthetic results
- Collaborative planning: Engage with the lab on complex cases to improve predictability and reduce remakes or adjustments
Accurate preparation and design are one part of the outcome, and the lab must execute the restoration with the same level of precision to fulfil the other part.
At Advance Dental Export (ADE) , a fully digital workflow and dedicated case planning support help accurately translate every prescription and scan, reducing variability and lowering the risk of veneer failures.
Take Home Message
Dental veneer preparation is a precision-driven process where small errors can lead to clinical issues or restoration failure. Material choice influences finish line design:
- Feldspathic porcelain veneers: Clean chamfer margin, no tolerance for margin ambiguity given fabrication sensitivity
- Emax veneers (Lithium disilicate) or Zirconia-reinforced: More tolerant of slight variation; clean chamfer or butt-joint preferred, especially at the incisal
- Indirect composite veneers: Feather-edge acceptable in low-stress zones
Maintaining enamel thickness, defining clear margins, and managing occlusion are essential for long-term success. When combined with structured workflows and effective lab communication, these principles support consistent, high-quality outcomes in veneer restorations.
FAQs
What is the ideal reduction depth for veneers?
There is no one universal number. Common facial reduction ranges are usually conservative, often around 0.3–0.5 mm for feldspathic veneers and slightly more for lithium disilicate when the case requires it, but the correct depth depends on enamel thickness, shade change, alignment, final contour, and material requirements. The goal is controlled space for ceramic, not routine dentine exposure.
Should veneer preparations stay in enamel?
Yes, whenever clinically possible. Evidence consistently supports better bonding and better fracture performance when veneers are bonded to enamel rather than dentine.
Which incisal design is better: butt-joint or palatal chamfer?
Evidence reviews support butt-joint designs over palatal chamfer in many ceramic veneer cases, because palatal chamfer has been associated with a greater risk of ceramic fracture. Final design should still reflect the patient’s function, material, and restorative objectives.
Are no-prep veneers right for every patient?
No. They work best in selected cases with favourable alignment and limited colour or shape change demands. Minimal preparation may improve survival, but no-prep should be chosen because the case suits it, not because it sounds conservative in marketing.
How can I reduce veneer remakes?
Start with better planning. Use a wax-up or mock-up, prepare anatomically with depth control, refine margins under magnification, check occlusion early, and send the lab clear photographs, shade information, and design instructions. Digital preparation guides can make this process even more controlled and conservative.