Accurate dental impressions are essential for fabricating well-fitting crowns , bridges, veneers , dentures, and implant-supported restorations. The quality of the impression directly influences the laboratory's ability to reproduce your clinical preparation.
Today, you have several dental impression methods to choose from, including conventional elastomeric impressions and digital intraoral scanning . Each method has its advantages, limitations, and clinical applications.
In this guide, we'll discuss dental impressions, impression materials, traditional (physical) and digital methods, and practical tips to help you select the right approach for your restorative cases.
What are Dental Impressions?

Dental impressions are records of a patient's teeth and surrounding oral structures. They capture important anatomical details that dental laboratories use to plan treatment and fabricate dental restorations.
Traditionally , impressions are taken using materials such as alginate, polyvinyl siloxane (PVS), or polyether . These materials record a negative reproduction of the oral structures, which can then be used to create a positive dental cast.
Digital dental impressions work differently. A dental intraoral scanner captures the visible surfaces of teeth and soft tissues to generate a three-dimensional digital model.
Both methods serve the same fundamental purpose: providing an accurate representation of the patient's oral anatomy for clinical and laboratory procedures.
Why are Accurate Dental Impressions Important?
An accurate dental impression gives your laboratory the information needed to fabricate a restoration according to your preparation and treatment plan.
Consider a zirconia crown case. If the impression fails to capture the finish line clearly, your dental technician may struggle to identify the correct restoration margin. This can affect marginal adaptation and lead to additional adjustments or a repeat impression.
Accurate impressions are particularly important for:
- Marginal adaptation : Recording preparation finish lines clearly helps the laboratory design restorations with appropriate margins.
- Proximal contacts : Capturing adjacent teeth supports the design of suitable interproximal contacts.
- Occlusal relationships : Accurate opposing arch records and bite registrations help reproduce the patient's occlusion.
- Implant restorations : Recording implant positions and angulations is essential for prosthetic fit.
- Removable prostheses : Recording anatomical landmarks and supporting tissues helps with denture design, retention, and stability.
Remember that even an advanced CAD/CAM system cannot reliably reconstruct clinical details missing from an impression. So, before sending a case to your dental laboratory, check for unclear margins, voids, distortion, incomplete arch coverage, and other defects that may affect the final restoration.
Dental Impression Methods
There are two primary dental impression methods: digital impressions and traditional physical impressions.
- Digital Impressions
- Traditional (Physical) Impressions
1. Traditional Dental Impressions (Physical Impressions)

Traditional dental impressions use a physical impression material to reproduce the patient's teeth and surrounding tissues.
You select an appropriate impression tray, prepare the material, and place it over the required oral structures. Once the material sets, you remove the impression and inspect it before sending it to the laboratory.
How to Take Traditional Dental Impressions
For a conventional crown or bridge impression, follow this general workflow:
- Select a rigid impression tray with suitable extension and adequate material space.
- Manage gingival tissues and moisture to expose the preparation margins.
- Mix or dispense the selected impression material according to the manufacturer's instructions.
- Syringe the wash material around the preparation when using a dual-viscosity technique, then seat the loaded tray.
- Maintain the tray's position until the material has set completely.
- Remove the impression, inspect it for defects, and clean and disinfect it before laboratory transfer.
The exact technique will differ for diagnostic models, complete dentures, and implant-supported restorations.
What Materials are Used for Dental Impressions?
The most commonly used dental impression materials include:
| Impression material | Common clinical applications | Important consideration |
| Alginate | Diagnostic casts, study models, preliminary impressions | Economical but prone to dimensional changes |
| Polyvinyl siloxane (PVS/VPS) | Crowns, bridges, veneers, implant impressions | Good elastic recovery and dimensional stability; requires moisture control |
| Polyether | Fixed prosthodontics and selected implant impressions | Good wettability but relatively rigid during removal |
| Condensation silicone | Selected conventional prosthodontic impressions | Greater dimensional changes over time than addition silicone |
| Zinc oxide eugenol impression paste | Selected definitive edentulous impressions | Rigid after setting; unsuitable for significant undercuts |
PVS and polyether are commonly used when fine detail reproduction and dimensional accuracy are important. Alginate remains useful for preliminary records, although timely pouring is important to minimise distortion.
Drawbacks of Traditional Dental Impressions
Physical impressions remain clinically useful, but several factors can affect their accuracy.
Incorrect tray selection, inadequate moisture control, premature removal, and insufficient material flow may cause distortion or incomplete margin reproduction.
Physical impressions also require cleaning, disinfection, suitable storage, and transportation.
Follow material-specific disinfection instructions and communicate the procedure used to your laboratory.
2. Digital Dental Impressions

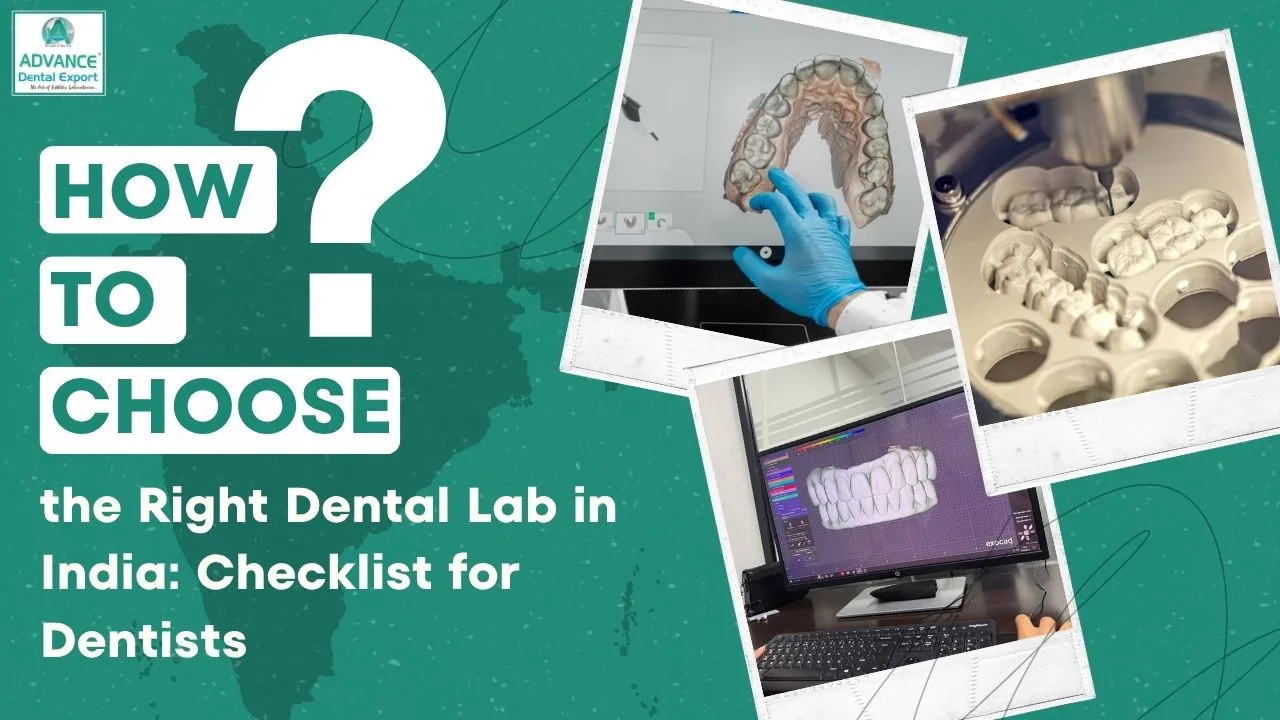
Digital dental impressions use an intraoral scanner to record the 3D surfaces of teeth and surrounding tissues.
Instead of preparing an impression tray, you scan the patient's oral structures directly. The scanner software processes the captured information into a digital model that can be used for CAD/CAM restoration design.
How to Take Digital Dental Impressions?
The typical digital impression process involves five steps:
- Prepare the scanning area : Remove debris, control saliva, and manage gingival tissues to expose preparation margins.
- Scan the prepared arch : Follow the scanner's recommended scanning sequence, capturing preparation details and adjacent teeth.
- Capture opposing teeth and occlusion : Scan the opposing arch and record the bite relationship.
- Review the digital impression : Check for missing surfaces, unclear margins, stitching errors, and incomplete data. Rescan defective areas when necessary.
- Send the files to your laboratory : Export the required digital files or transfer the case through a compatible laboratory platform.
For implant impressions, compatible scan bodies are used to record implant positions. Their correct selection and complete seating are important for accuracy.
What is a Dental Scanner?
A dental scanner, commonly called an intraoral scanner (IOS), is a handheld optical device that captures digital information about oral structures.
It generates a three-dimensional model that dentists can review before sharing it with the laboratory.
Common applications include crowns, bridges, veneers, orthodontic appliances, and selected implant restorations.
Key Technologies & Devices for Digital Dental Impressions

Several leading intraoral scanners are making waves in modern dental practices, each offering unique features for enhanced efficiency and accuracy:
- iTero Scanner : Known for its speed and accuracy, the iTero system is commonly used in orthodontics and restorative dentistry. It integrates seamlessly with clear aligner systems like Invisalign.
- TRIOS Scanner : This scanner offers high-resolution imaging and is equipped with a user-friendly interface, making it ideal for both crowns and full-arch restorations. The TRIOS scanner is well-known for its open architecture, allowing integration with other systems.
- Medit Scanner : A more affordable option, the Medit scanner is highly regarded for its accuracy and ability to work well in a variety of dental procedures, including implantology and restorative dentistry.
Benefits of Digital Dental Impressions
Digital impressions offer several practical benefits:
- Quick assessment : You can inspect the digital model and identify missing areas before completing the appointment.
- Patient comfort : Scanning avoids bulky impression trays and setting materials, which some patients find uncomfortable.
- Efficient laboratory communication : Digital files can be transferred electronically without physically transporting an impression.
- Digital workflow integration : Scan data can be used for CAD/CAM restoration design and fabrication.
- Selective rescanning : You can correct certain defective areas without repeating the entire impression.
However, digital scanning still requires proper tissue management. Subgingival margins hidden by gingiva or blood cannot be recorded reliably simply by using a scanner. Clinical research supports the importance of gingival retraction when capturing subgingival finish lines.
Traditional vs Digital Dental Impressions: Which Is Better?
Both traditional and digital dental impressions can provide clinically acceptable results. The better choice depends on the restoration type, anatomical conditions, and technique used.
A recent study found generally comparable accuracy for digital and conventional impressions in many fixed prosthodontic applications. However, conventional impressions performed better for complete-arch fixed dental prostheses in the evidence reviewed.
Here is how the two approaches compare:
| Factor | Traditional impressions | Digital impressions |
| Method | Physical impression materials and trays | Optical scanning with an intraoral scanner |
| Accuracy | Reliable with suitable materials and techniques | Comparable for many single-unit and short-span cases |
| Patient comfort | May cause discomfort or gagging | Often more comfortable |
| Margin recording | Material can flow into accessible, properly managed sulcular areas | Requires optical visibility of margins |
| Error detection | Requires physical inspection after removal | Allows immediate on-screen inspection |
| Laboratory transfer | Requires physical transportation | Electronic file transfer |
| Equipment cost | Lower initial equipment investment | Higher initial scanner investment |
| Complete denture cases | Can record functional borders through established techniques | Functional border recording remains challenging |
Digital impressions are particularly convenient for single crowns, veneers, and many short-span fixed restorations.
However, conventional techniques remain valuable for complete denture impressions and complex cases requiring functional soft-tissue recording.
For your practice, the decision should focus on clinical suitability and the quality of the final record, rather than assuming one method is always superior.
How to Choose the Right Method for Dental Impressions?
Selecting the right dental impression method starts with understanding the clinical requirements of your restoration.
Before choosing between digital scanning and conventional impressions, consider the following factors.
1. Type of restoration
For single crowns, veneers, and many short-span bridges, digital impressions can be a practical option. For complete dentures, conventional functional impressions may still be necessary to record supporting tissues and border extensions.
2. Preparation margins
Evaluate whether the finish lines are clearly accessible. Deep subgingival margins may require effective retraction and haemostasis, regardless of the impression method.
3. Implant complexity
For implant-supported restorations , consider implant number, angulation, inter-implant distance, and the impression components available.
Recent studies supported digital impressions for short-span implant restorations in partially dentate patients, while recommending caution for long-span or highly angulated cases.
4. Equipment and laboratory compatibility
If you use a dental scanner, confirm that your laboratory accepts the scanner's file format and the required implant scan-body library.
5. Quality of the clinical record
Before finalising either method, verify preparation margins, proximal surfaces, opposing arch details, and the recorded occlusion.
When uncertain, discuss the case with your laboratory before taking the definitive impression. This can help you select an appropriate technique and avoid preventable remakes .
Advance Dental Export: Your Partner for Accurate Dental Restorations
A good dental impression is the starting point, but the final restoration also depends on how accurately the laboratory interprets and processes the clinical information. At Advance Dental Export (ADE), we understand the importance of clear preparation margins, reliable occlusal records, and complete case information for restorative fabrication.
We provide CAD/CAM dental laboratory services, including digital restoration workflows, zirconia restorations, cosmetic restorations, and implant-related laboratory solutions .
Our published services include support for digital impression systems, CAD/CAM technology, custom milling, and case-planning assistance. Dentists can also submit STL files through our website.
When sending a restorative case to ADE, make sure you include the relevant clinical information:
- Clear impressions or complete intraoral scan files.
- Accurate opposing arch and bite records.
- Tooth numbers, restoration type, and material prescription.
- Shade details and clinical photographs where necessary.
- Implant system and component information for implant-supported restorations.
If an impression has unclear margins or missing information, it is better to address these issues before fabrication begins.
Looking for a trusted lab partner? Get high-precision restorations from Advance Dental Export
Clear communication between your practice and ADE helps ensure that the laboratory understands your restorative requirements and can plan the case accordingly.
Conclusion
Accurate dental impressions are essential for predictable restorative dentistry. Whether you choose traditional impression materials or digital intraoral scanning, the technique must capture the details your restoration needs.
The key is to choose the method according to the patient's clinical needs, maintain proper impression technique, and communicate clearly with your laboratory.
Planning your next restorative case? Connect with Advance Dental Export to discuss your impression requirements and explore suitable laboratory workflows for crowns, bridges, and implant-supported restorations.
Dental Impressions FAQs
What is a dental impression?
A dental impression is a record of a patient's teeth and surrounding oral structures used to fabricate crowns, bridges, dentures, implant-supported restorations, and orthodontic appliances. Dental impressions can be captured using conventional materials such as alginate, PVS, and polyether or digitally through intraoral scanners.
What is a digital dental impression?
A digital dental impression is a 3d record of the patient's teeth and visible oral tissues captured using an intraoral scanner. Digital impressions are commonly used for crowns, bridges, veneers, orthodontic appliances, and selected implant-supported restorations.
How to take dental impressions digitally?
To take a digital impression, first prepare the scanning area by controlling moisture, retracting soft tissues where necessary, and exposing the preparation margins. Follow the intraoral scanner's recommended scanning sequence to capture the prepared tooth, adjacent teeth, and surrounding tissues. Then scan the opposing arch and record the bite relationship. Before submitting the case, inspect the digital model for incomplete surfaces, unclear margins, and scanning errors. Rescan defective areas and transfer the completed files to your dental laboratory.
How to take dental impressions traditionally?
For conventional impressions, begin by selecting a rigid tray with adequate extension and space for the chosen impression material. Manage gingival tissues and moisture, then mix or dispense PVS, polyether, or another suitable material according to the manufacturer's instructions.
After complete setting, remove the impression carefully and inspect it for voids, tears, distortion, and incomplete margins. Clean, disinfect, and store the impression appropriately before sending it to your laboratory.
Which impression material is best for crowns and bridges?
Polyvinyl siloxane (PVS) is one of the most commonly preferred impression materials for crowns and bridges because of its dimensional stability, elastic recovery, and ability to reproduce fine preparation details.
Polyether is another reliable option, particularly when good wettability is required. However, its relative rigidity can make removal more difficult around pronounced undercuts.
Are digital impressions more accurate than conventional impressions?
Yes, digital impressions can provide accuracy comparable to conventional PVS or polyether impressions for single crowns, veneers, and many short-span fixed restorations. However, the decision should be based on clinical requirements rather than assuming digital impressions are always more accurate.
How soon should I pour a dental impression?
Alginate impressions should generally be poured as soon as possible after appropriate disinfection, ideally within the recommended short pouring window, because moisture loss and absorption can cause dimensional changes. PVS impressions offer better dimensional stability and may allow delayed pouring under appropriate storage conditions.
What causes dental impression defects, and when should I retake?
Common dental impression defects include voids, bubbles, material tears, drag marks, tray movement, incomplete margin capture, and distortion during removal.
You should retake an impression when critical preparation margins are unclear, the material has separated from the tray, significant distortion is visible, or essential anatomical details are missing.
Can I take a digital impression of subgingival margins?
Yes, intraoral scanners can capture certain subgingival preparation margins, provided the finish lines are clearly exposed and visible. For deeply positioned margins, assess whether sufficient visibility can be achieved.
How do I take an accurate implant impression?
For conventional impressions, use compatible impression copings and select an open-tray or closed-tray technique according to implant number, angulation, and clinical requirements.
For digital impressions, ensure the scan bodies are correctly selected, completely seated, and compatible with your laboratory's implant library.
What should I send to the lab with a dental impression or scan?
For a crown, a dental laboratory generally needs a complete impression or prepared-arch scan, opposing arch record, accurate bite registration, and detailed restoration prescription. Moreover, include the tooth number, restoration type, prescribed material, shade, and any specific occlusal or aesthetic instructions.
For anterior restorations, stump shade information and clinical photographs are particularly useful.
For implant cases, also provide the implant manufacturer, system, platform size, and relevant component details.
Before submission, confirm that the preparation margins and essential anatomical details are clearly recorded.
How much do digital dental impressions cost?
In India, intraoral scanners to take digital impressions can cost approximately ₹2.5 lakh to ₹25 lakh, depending on the brand, specifications, and system configuration. The cost per impression varies according to equipment utilisation, scanning time, consumables, and any associated laboratory or scanning service fees.